Basic Configuration
1. Introduction
The ManageIQ appliance is a virtual machine image that runs on a Red Hat Enterprise Linux-based operating system. It is advisable to perform some tasks in the appliance (i.e changing the root password and setting ssh keys)
- The appliance database has already been configured in the Docker and Vagrant installations. If you are using other types of appliances (like OpenStack or VMware) follow the documentation for your provider to configure.
-
Point your browser to its IP address
- Docker: localhost (https://127.0.0.1:8443)
- Vagrant: 172.28.128.3
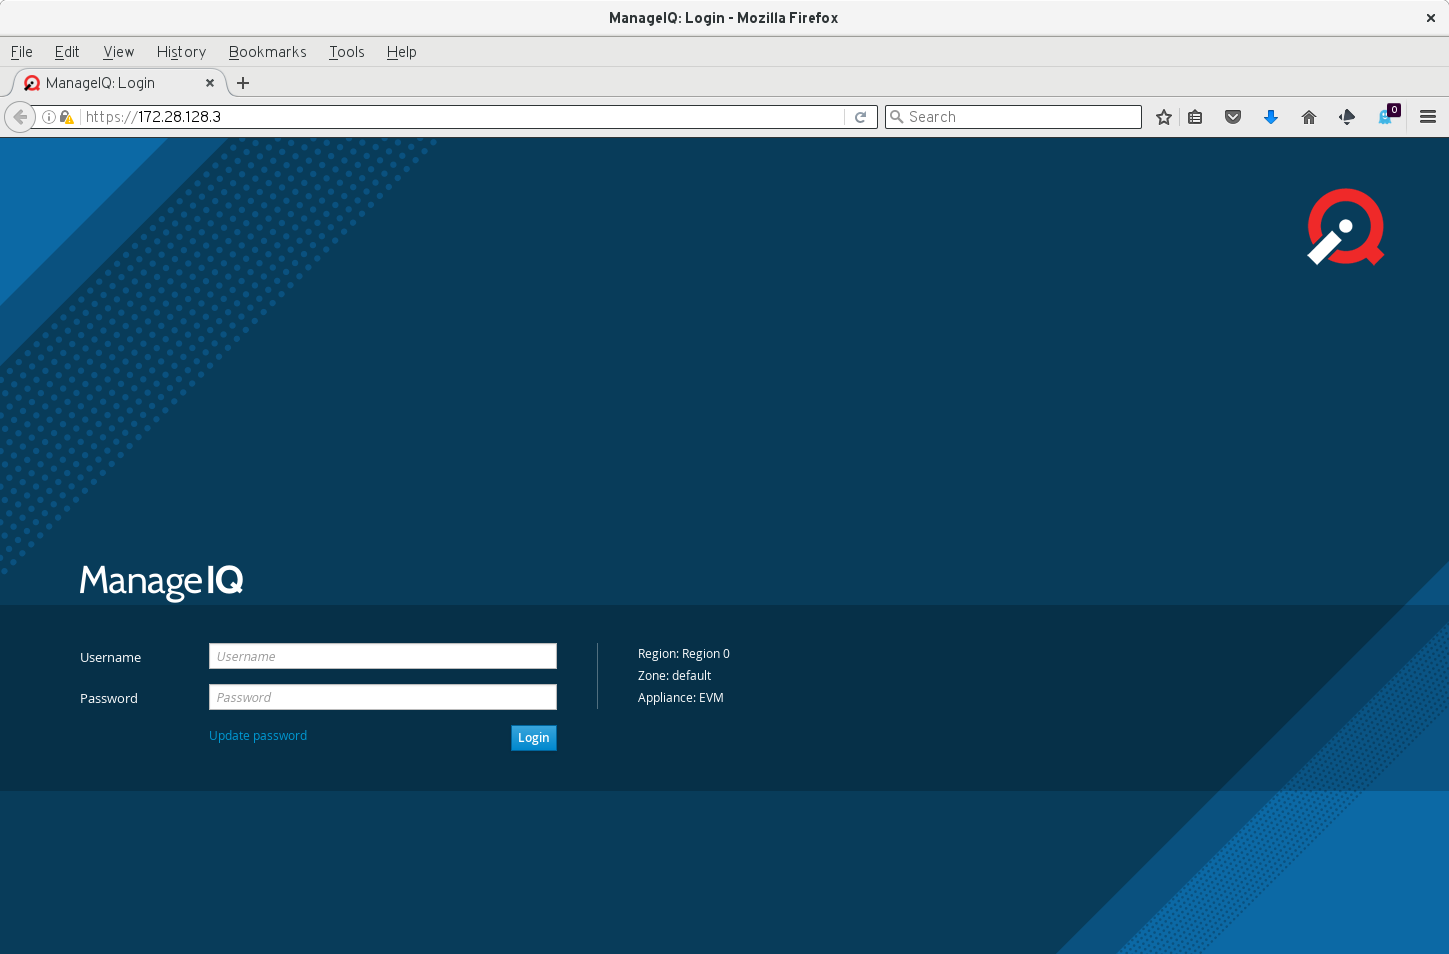
2. Log in using default credentials
- Login: admin
- Password: smartvm
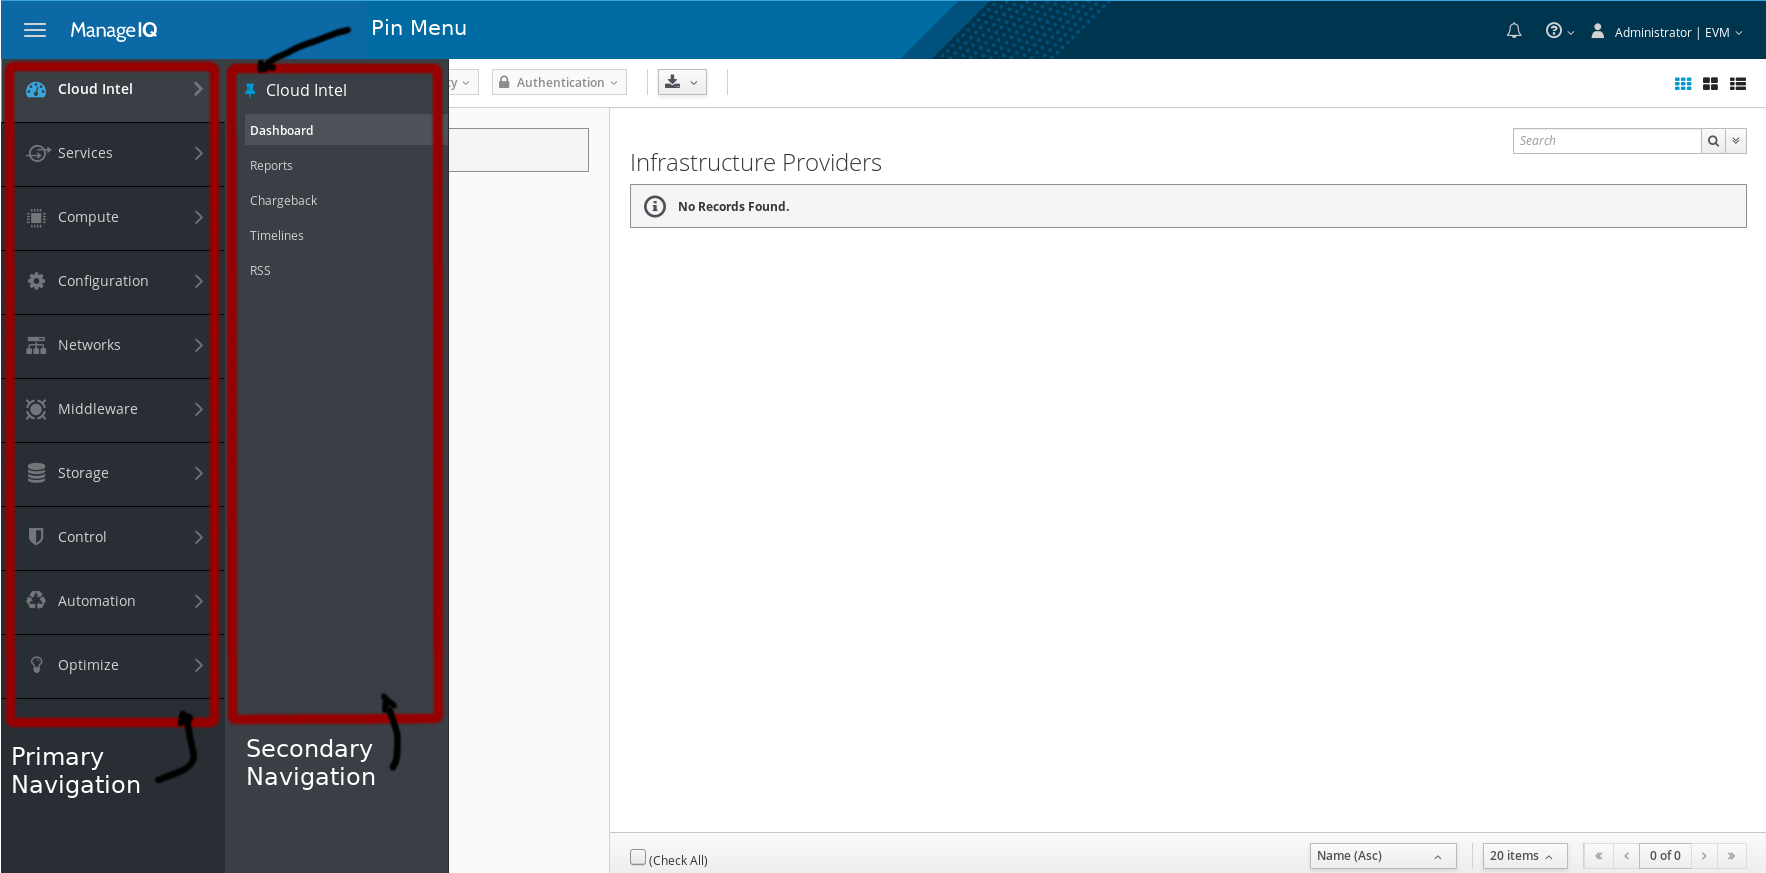
3. ManageIQ vertical navigation.
The main menus are available in the left of the screen, and secondary and tertiary menus are expanded when needed. You can pin a secondary or tertiary menu to easily navigate through its elements.
4. Change options
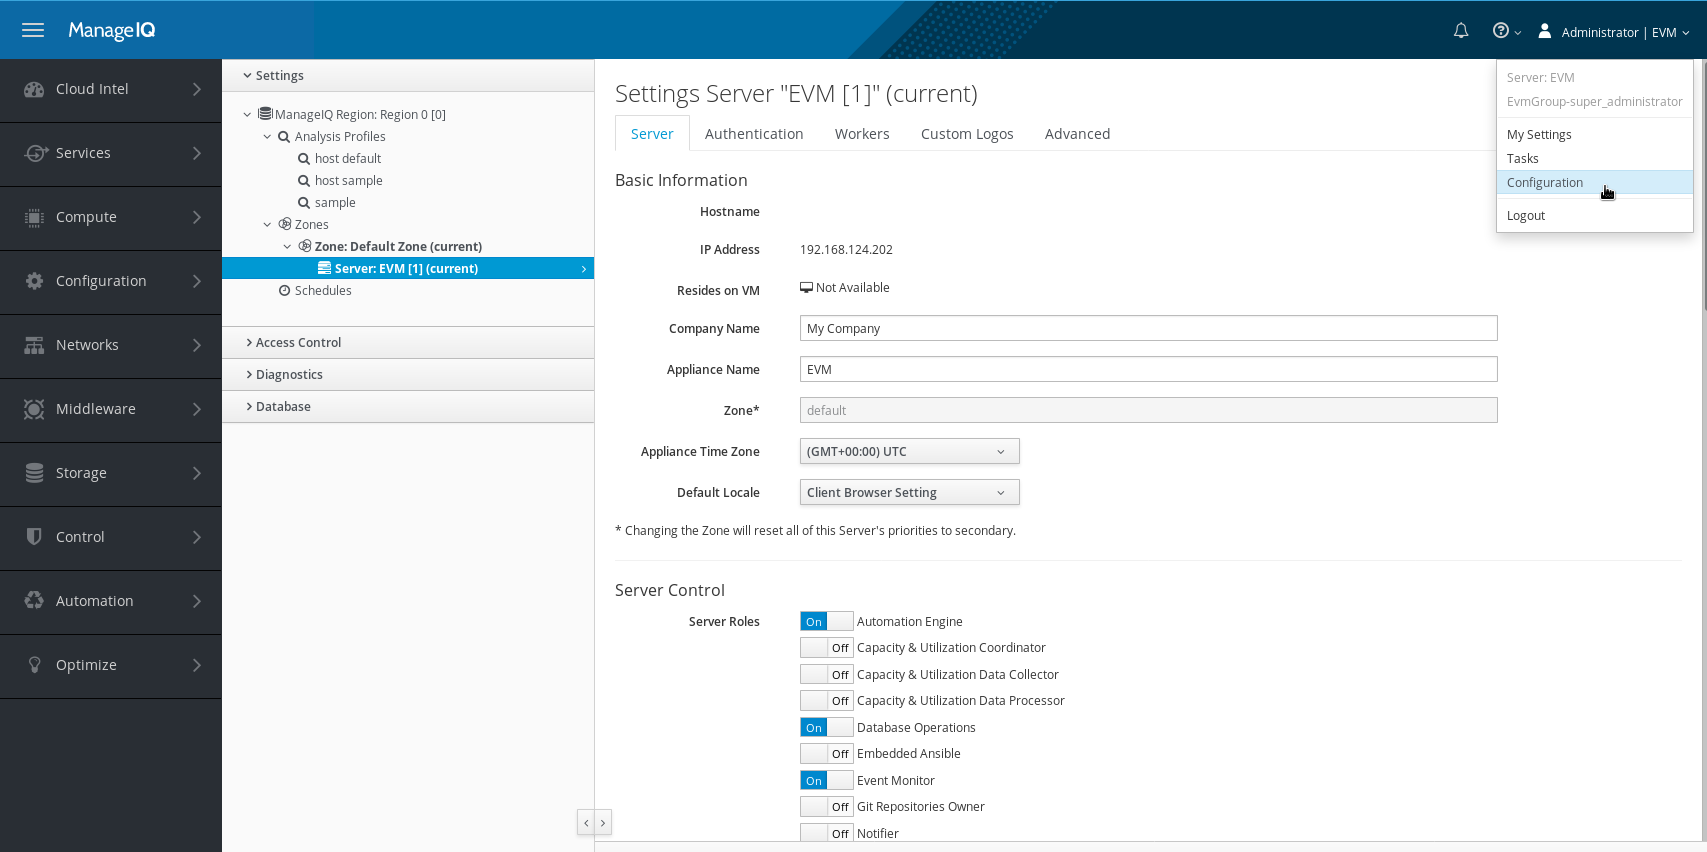
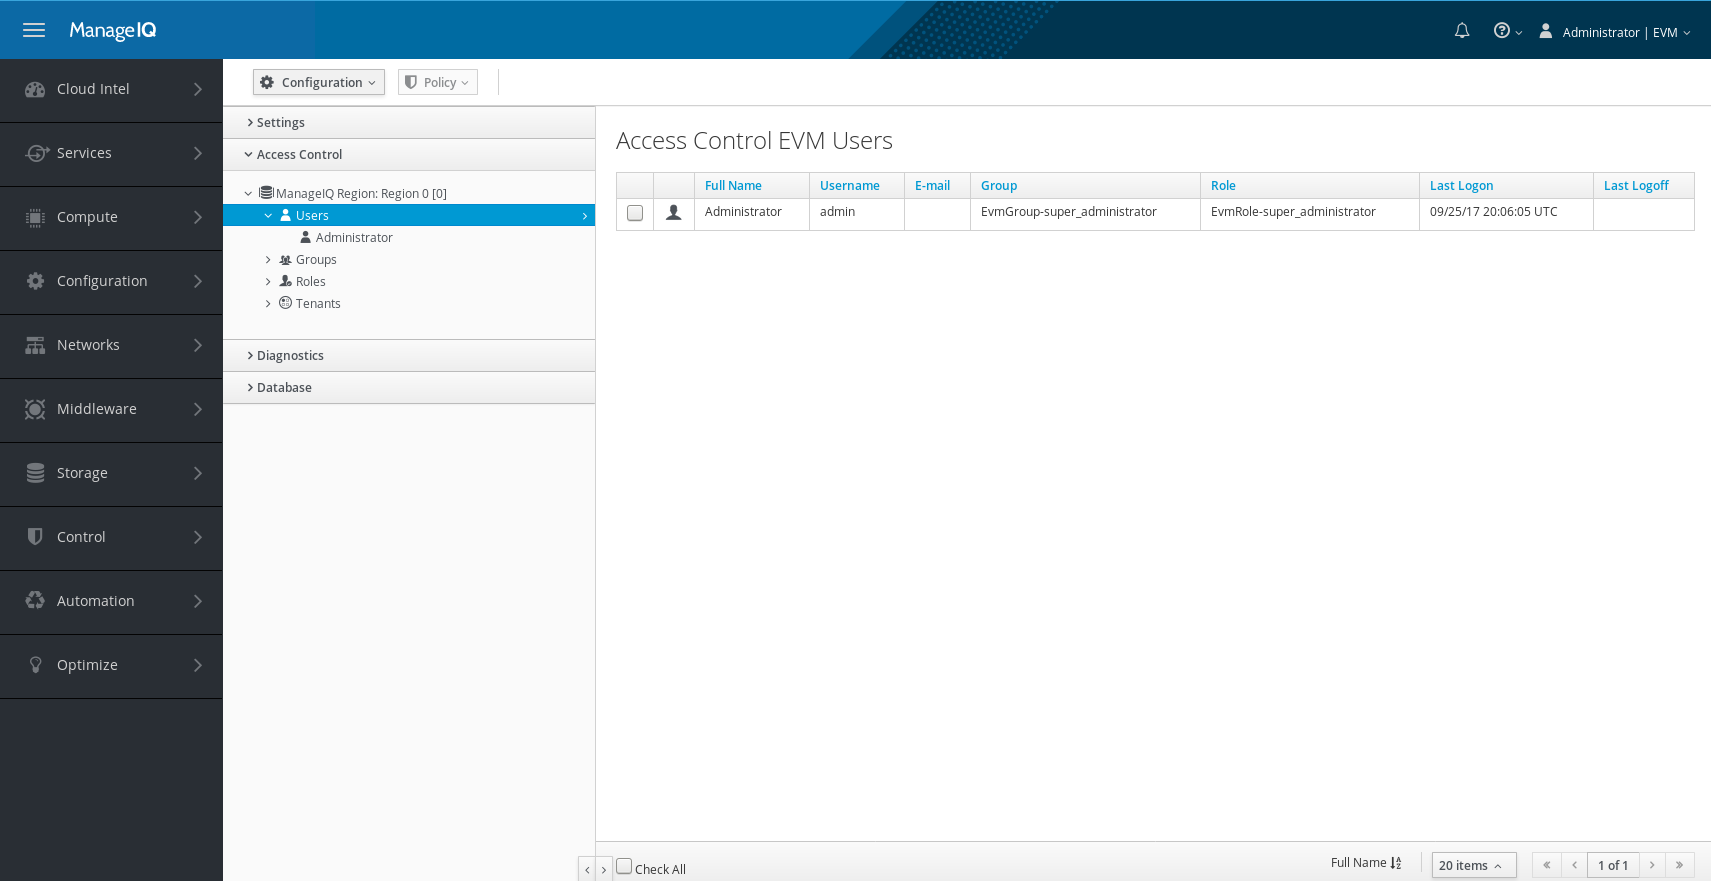
In the example below, click on the upper right hand: EVM → Configuration to change how the appliance behaves:
1. Select the appliance to configure
- CFME Region: Region 0 → Zones → Zone: Default zone(current) → Server: EVM[1](current) should be selected by default.
- The hostname and IP address of the appliance will be shown here, be careful as in some cases this will be the internal IP address and not the one you connected to.
- You can change the Company Name to whatever you want, the change will be reflected in the interface. Change it to ManageIQ
- Select your time zone, and, if you want, you can change the Default Locale.
- Server control defines what roles each appliance executes in a multi-appliance deployment. For now, as we have only one appliance, select all C&U and Notification options. Don’t select Database synchronization, Git Repositories Owner, RHN Mirror or Smart Proxy unless you need them.
2. Choose Visual preferences and Default views
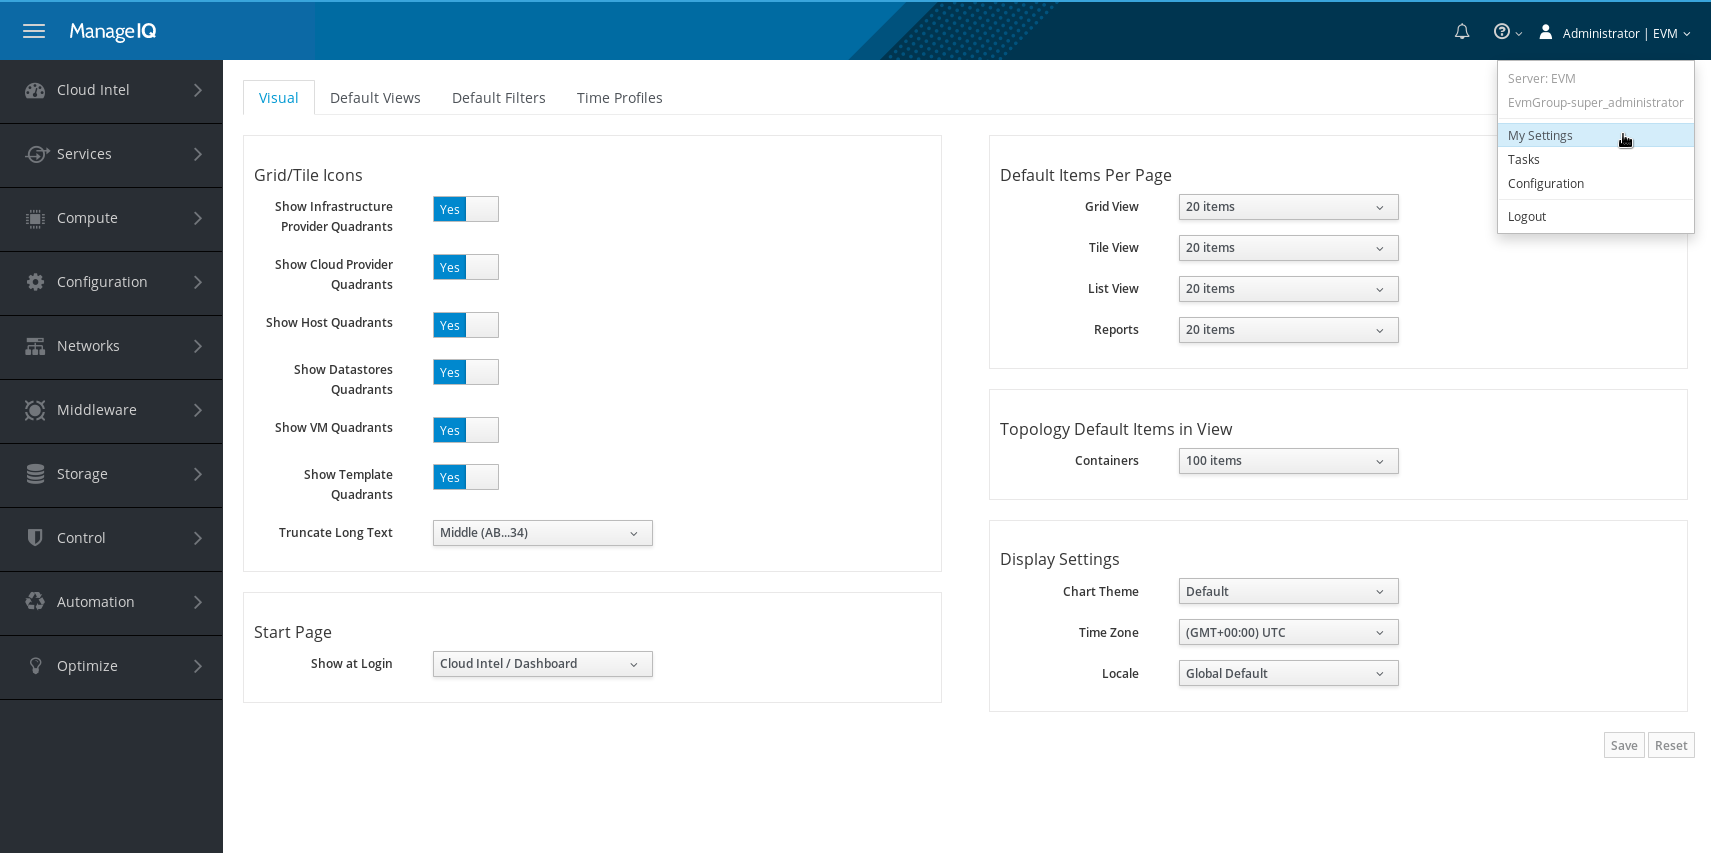
In the example below, click on the upper right hand: EVM → My Settings to change the functions of this appliance.
- Here you can select your personal preferences on how the User Interface appears to you. Change the Default Items Per Page, as well as the Default Start Page shown at Login.
3. Configure your email server so ManageIQ can send you emails
4. Save your changes
Press Save to save your changes
